Most projects fit one path cleanly. Where they do not, the studio adjusts scope before the work begins.
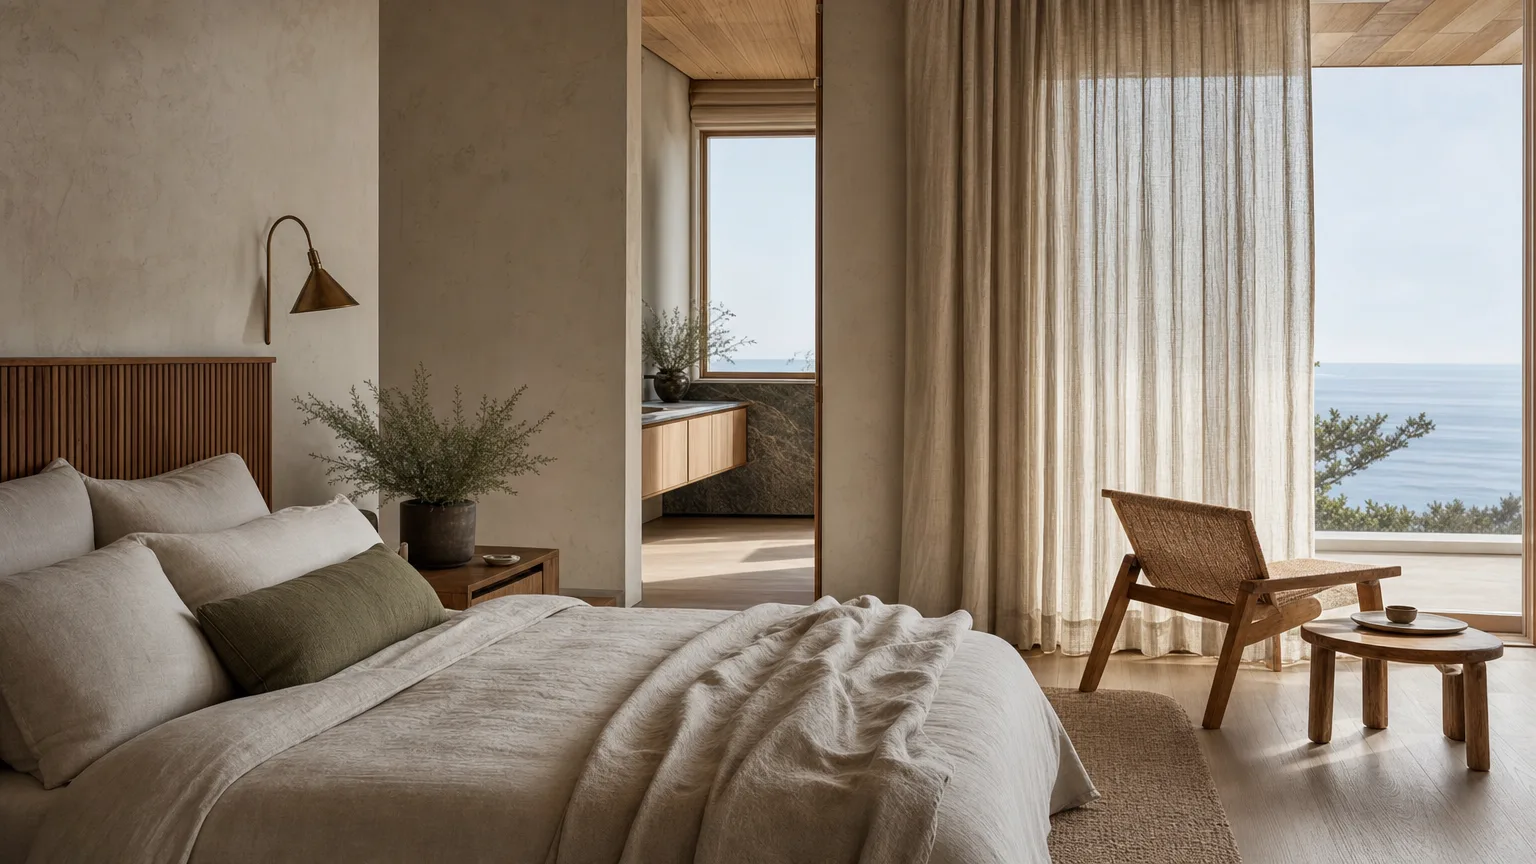
Engagements
Services with clear edges.
Choose the level of support around the decisions that are most expensive to revisit.
Service paths
Three ways to begin.
Which path fits
Compare the fit
Use this as a first pass. Scope is confirmed before a proposal is written.
| Decision | Furnishing | Renovation guidance | Whole-home |
|---|---|---|---|
| Material palette | Focused | Detailed | Complete |
| Procurement support | Included | As needed | Included |
| Install styling | Included | — | Included |
How the work moves
Process
The engagement is deliberately sequenced so decisions become narrower, clearer, and easier to act on.
- Step 1
Clarify
Rooms, timeline, budget, decision makers
Define rooms, timeline, budget range, and decision makers.
The first phase turns loose preferences and unresolved constraints into a brief the studio can use. We identify what must change, what can stay, who needs to approve, and where the investment should hold its weight.

A measured brief before design direction begins. - Step 2
Edit
Material and furnishing direction
Reduce options to a material and furnishing direction.
From there, the palette narrows. Stone, textile, wood, lighting, and furnishing choices are considered together so the room has a clear point of view without feeling overworked.
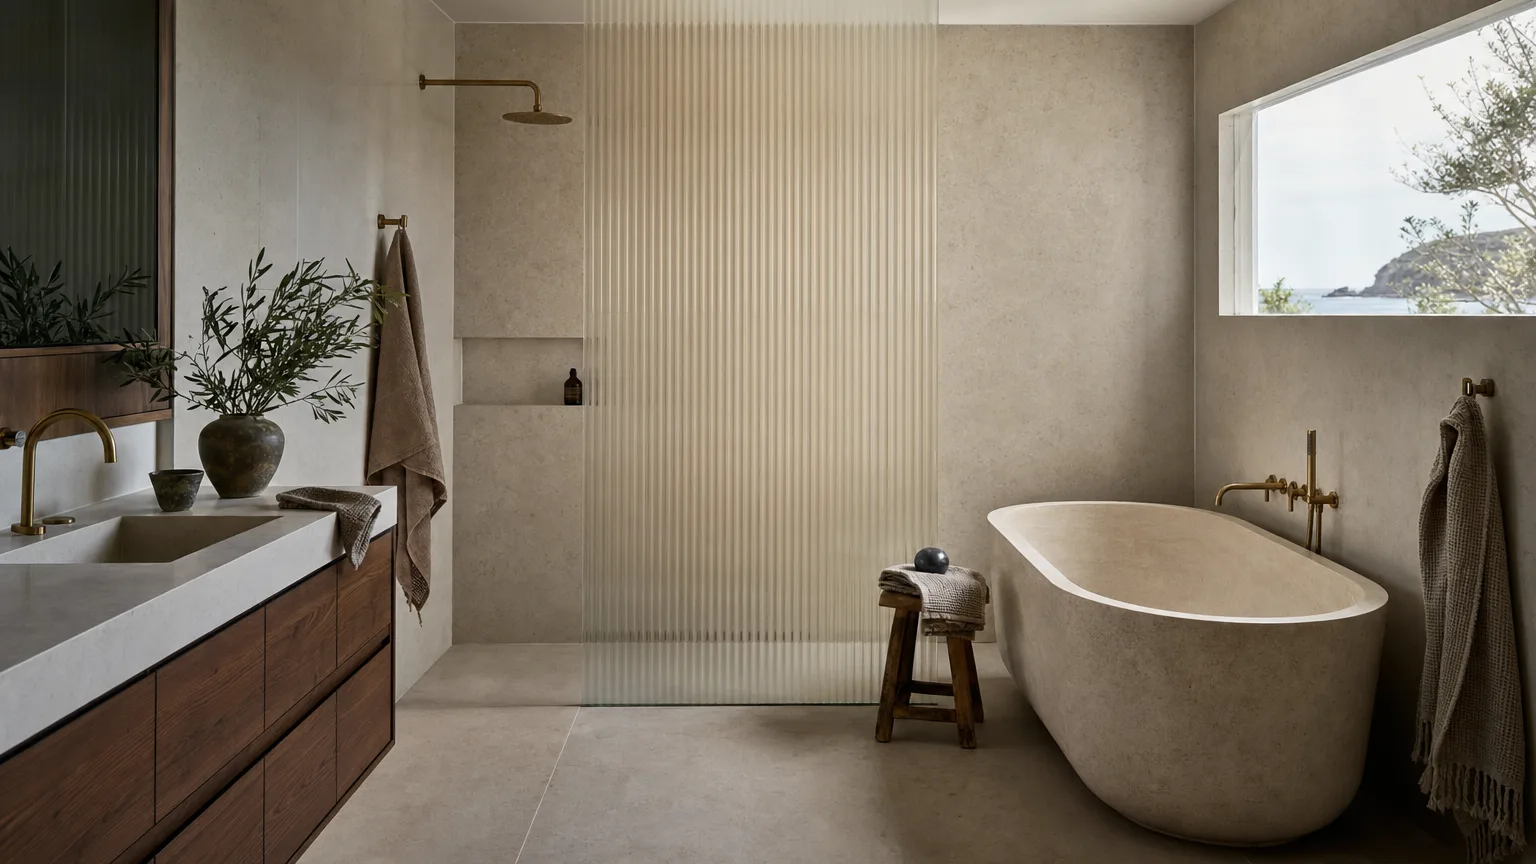
Fewer better decisions, held in one material language. - Step 3
Document
Selections, notes, procurement priorities
Prepare selections, notes, and procurement priorities.
The selected direction becomes a usable record: key pieces, alternates, finish notes, order priorities, and the decisions that should not be reopened without a reason.
Documentation protects the calm of the finished room. - Step 4
Install
Placement, styling, final details
Resolve placement, styling, and final details.
Install closes the loop between plan and atmosphere. Placement, art, objects, and final adjustments are resolved in the room so the work feels settled rather than staged.
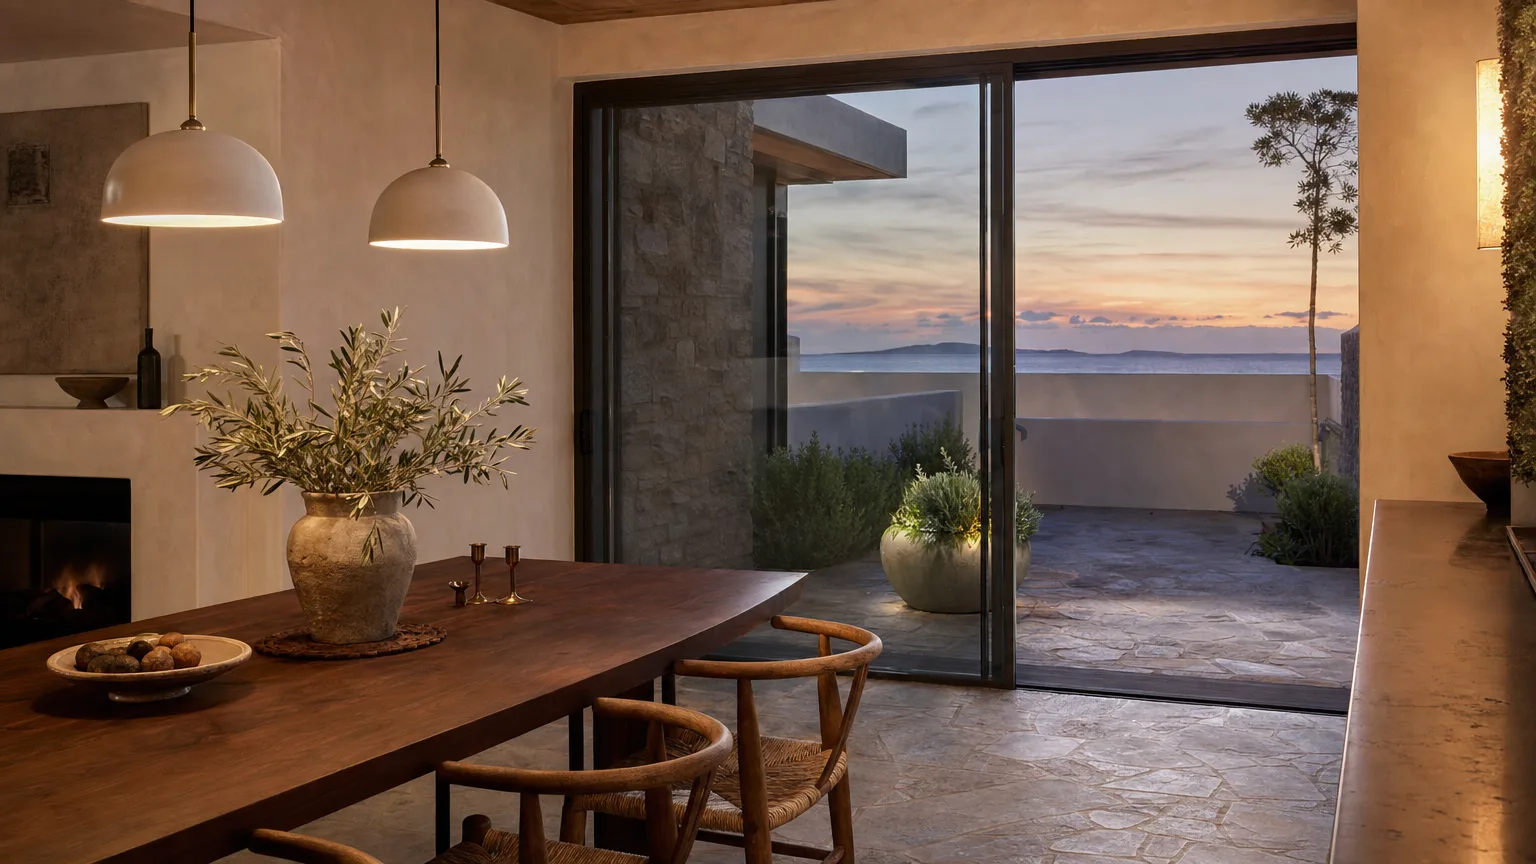
The final pass is about proportion, quiet, and use.
Before you book
Maris is best suited to multi-room furnishing, renovation guidance, and whole-home interior direction where material choices need continuity.
For renovations, reach out before drawings are final. For furnishing, eight to twelve weeks before desired installation gives the cleanest path.
Yes. The studio works remotely for concept and documentation, with travel scoped for installations that need in-person styling.
Send the rooms and the constraints
The best first note includes location, timeline, scope, and what decisions already feel heavy.